Crochet Mesh Shrug Guide: Lightweight Layering Guide
By Lara Yanki · September 28, 2026 · Updated October 4, 2026 · in Wearables
A mesh shrug covers the arms and upper back while leaving most of the front open.
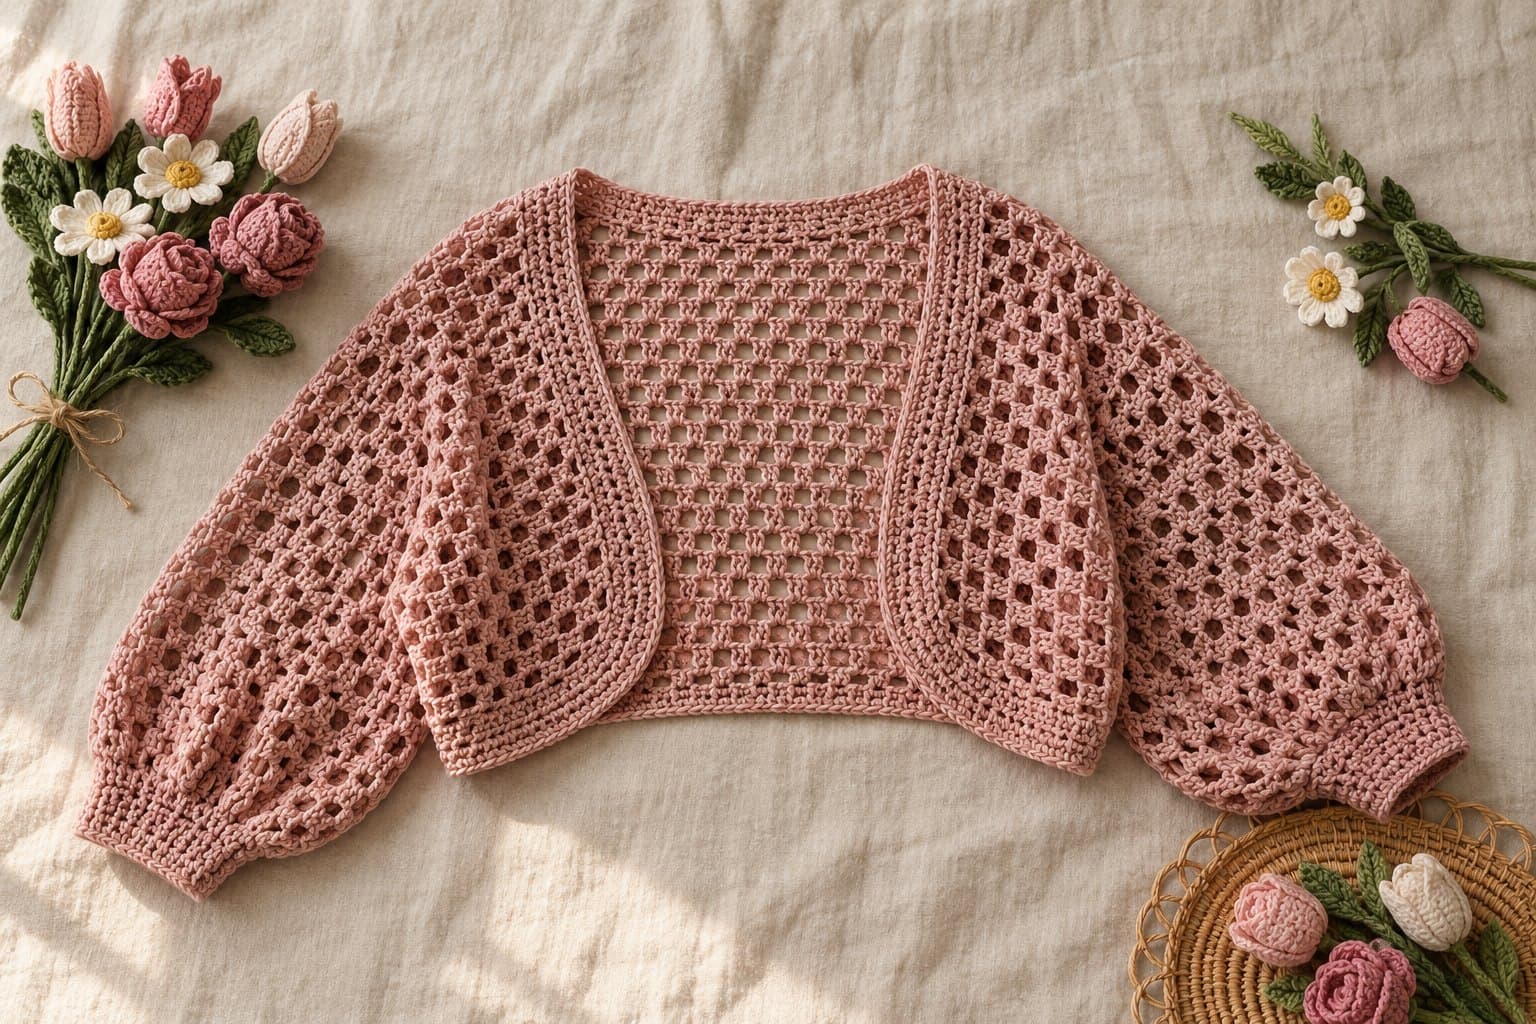
AI-generated illustration. Your finished project may look different.
Design guide: This article explains construction and styling choices. It is not a complete stitch-by-stitch pattern; use a numbered pattern suited to your measurements when making the project.
A mesh shrug covers the arms and upper back while leaving most of the front open. Its success depends on the placement of the arm openings and the way the mesh stretches when worn. This guide plans a simple folded-rectangle construction; a shaped bolero needs a dedicated garment pattern.
Measure Across the Back and Arms
Choose where the sleeve ends should sit. Measure from that point on one arm, across the back, to the matching point on the other arm. Then decide how much fabric should cover the upper back. These are different measurements: adding length across the arms does not automatically add coverage down the back.
Make a mesh sample and measure it both relaxed and gently stretched. A chain-space fabric can lengthen noticeably under its own weight. Use the relaxed sample for the initial calculation, then consider the amount of stretch you want while wearing it.
Establish a Consistent Mesh
Select one mesh repeat and record its stitch multiple before making the foundation chain. Keep the chain spaces even and place the first and last stitches consistently. Count spaces as well as stitches: a missing space can narrow a row without being obvious at first.
Cotton DK yarn gives visible openwork; a softer blend may produce more drape. Test against the clothing you intend to wear under the shrug.
Fold and Mark Before Seaming
For the rectangular style, fold the fabric lengthwise and mark short seams at the two ends, leaving the center open for the body. Put it on with the markers still in place and check that the seams create comfortable arm openings. Extend the seams only after checking movement.
Stabilize the Edges
A narrow edging around the opening can keep the mesh from snagging. Work enough stitches into the spaces for the border to lie smoothly; too many make it ruffle. Keep the sleeve ends flexible. For a sleeveless layer with a different structure, see the granny-square vest.
More in Wearables
Crochet Balaclava Guide: Modern Winter Hood for Beginners
A balaclava needs a clear face opening, comfortable neck coverage and enough room around the crown.
2 min read
Crochet Cable Sweater Guide: Cozy Textured Fall Pullover
Crochet cables use raised stitches to create crossing lines.
2 min read
Crochet Cowl Guide for Beginners: Cozy Fall Accessory
A beginner cowl can be made from a ribbed rectangle joined into a loop.
2 min read