Crochet Cowl Guide for Beginners: Cozy Fall Accessory
By Lara Yanki · September 28, 2026 · Updated October 4, 2026 · in Wearables
A beginner cowl can be made from a ribbed rectangle joined into a loop.
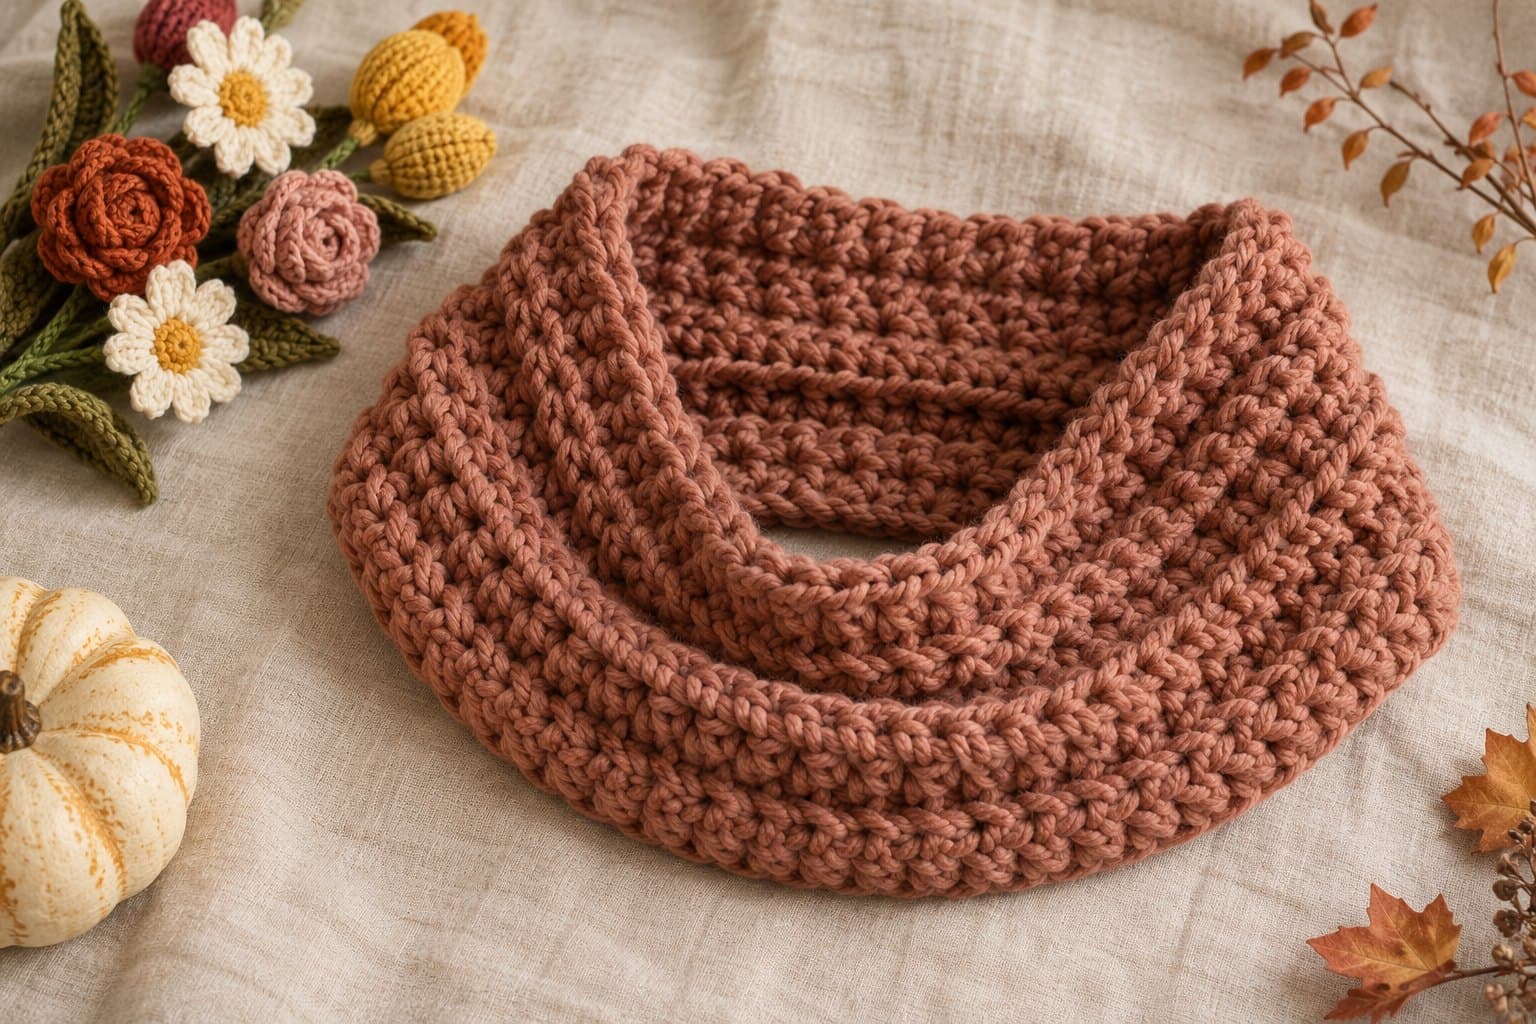
AI-generated illustration. Your finished project may look different.
Design guide: This article explains construction and styling choices. It is not a complete stitch-by-stitch pattern; use a numbered pattern suited to your measurements when making the project.
A beginner cowl can be made from a ribbed rectangle joined into a loop. Working flat lets you check the length before sewing the seam, and back-loop single crochet gives the fabric a visible rib. The steps below use US crochet terminology.
Choose the Height and Circumference
Use worsted yarn and a 5 mm hook as starting materials, plus a yarn needle and scissors. Make a short ribbed sample first. The starting chain will run from the bottom edge to the top edge of the cowl, so it controls height. Rows accumulate around the neck, so their number controls circumference.
Measure a cowl you like or loop the sample fabric loosely around your neck. Leave enough room to pull the finished loop over your head. A short neck-warming cowl and a long double-wrap cowl need different lengths.
Work the Ribbed Rectangle
- Chain to the desired height, then add one turning chain.
- Work single crochet into the second chain from the hook and each remaining chain.
- Chain one and turn; this chain does not count as a stitch.
- Work single crochet through the back loop of each stitch.
- Repeat the last two steps until the rectangle reaches the chosen circumference.
Count the stitches across every row. The final stitch is easy to miss and a missing edge stitch gradually changes the height.
Test Before Closing the Loop
Join the short edges temporarily with stitch markers. Try the loop over your head and check the height at the front of your neck. For an untwisted cowl, keep both long edges aligned. A twist is a deliberate design choice, not a correction for uneven ends.
Seam and Finish
Sew the short edges together with a flexible seam, matching the stitches one by one. Weave in the ends and wash or shape according to the yarn instructions. If you prefer a longer accessory, see the infinity scarf pattern.
More in Wearables
Crochet Balaclava Guide: Modern Winter Hood for Beginners
A balaclava needs a clear face opening, comfortable neck coverage and enough room around the crown.
2 min read
Crochet Cable Sweater Guide: Cozy Textured Fall Pullover
Crochet cables use raised stitches to create crossing lines.
2 min read
Crochet Granny Square Vest Guide: Modern Layering Piece
A granny-square vest is a layout project as much as a crochet project.
2 min read