Crochet Granny Square Vest Guide: Modern Layering Piece
By Lara Yanki · September 28, 2026 · Updated October 4, 2026 · in Wearables
A granny-square vest is a layout project as much as a crochet project.
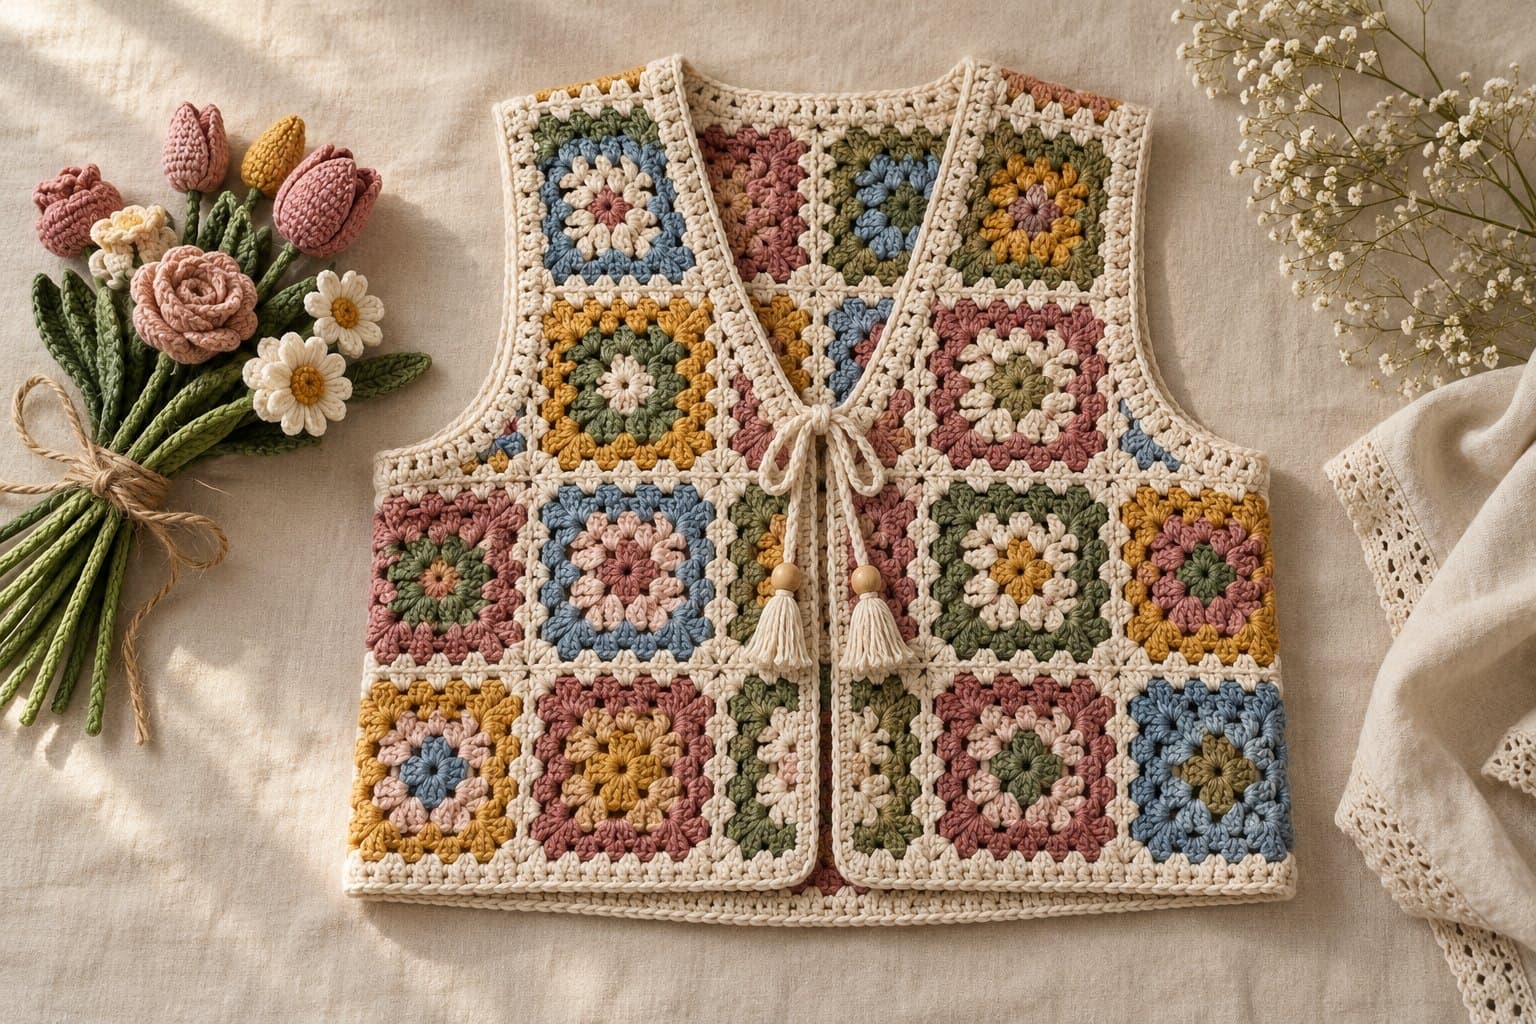
AI-generated illustration. Your finished project may look different.
Design guide: This article explains construction and styling choices. It is not a complete stitch-by-stitch pattern; use a numbered pattern suited to your measurements when making the project.
A granny-square vest is a layout project as much as a crochet project. The size of one finished square determines the width of the body, the depth of the armholes and the amount of edging you need. Plan the layout before making a large pile of motifs.
Measure a Washed Sample Square
Crochet one square using the yarn, hook and joining method you intend to use. Wash or block it according to the yarn label, let it dry and measure its width. A square measured while stretched on blocking pins may shrink after it is released.
Place paper squares of that size on a flat surface to sketch the front and back. Compare the layout with a vest that fits you, including room for the shirt you will wear underneath. A whole extra square can add substantial width; smaller motifs or side panels give finer control.
Shape the Neck and Armholes
Leave space for the neckline and underarms in the layout rather than cutting into completed crochet. A V-neck can use stepped square placement, partial motifs from a compatible pattern, or a shaped front band. Choose one approach before joining.
For armholes, mark the side seams only up to the underarm. Check the opening with your arm bent, not just hanging straight. A thick border will reduce the opening slightly.
Join in a Predictable Order
Arrange all squares by color and photograph the layout. Join each panel first, then connect the shoulders and sides. Match corner spaces so the joins do not shift from one row to another. Keep the seam tension similar to the motif tension.
Finish the Openings
Add a light edging around the neck, armholes and hem. If a band flares, reduce the number of stitches picked up; if it pulls the fabric inward, add enough stitches to let it lie flat. For a jacket with sleeves, compare the granny-square cardigan guide.
More in Wearables
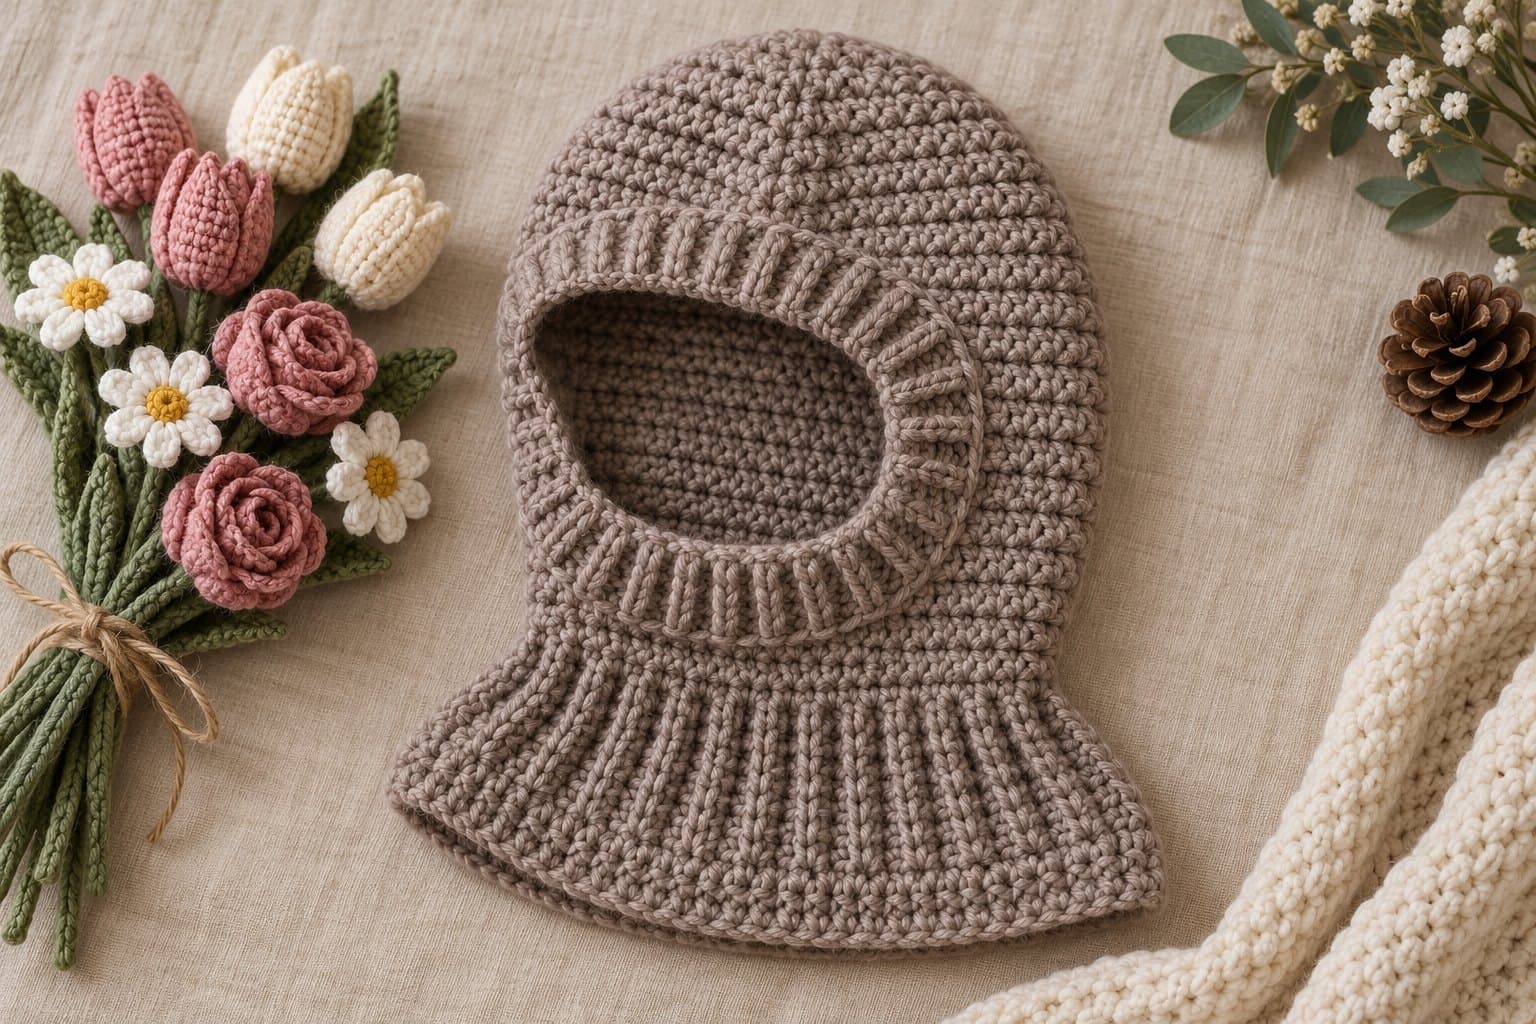
Crochet Balaclava Guide: Modern Winter Hood for Beginners
A balaclava needs a clear face opening, comfortable neck coverage and enough room around the crown.
2 min read
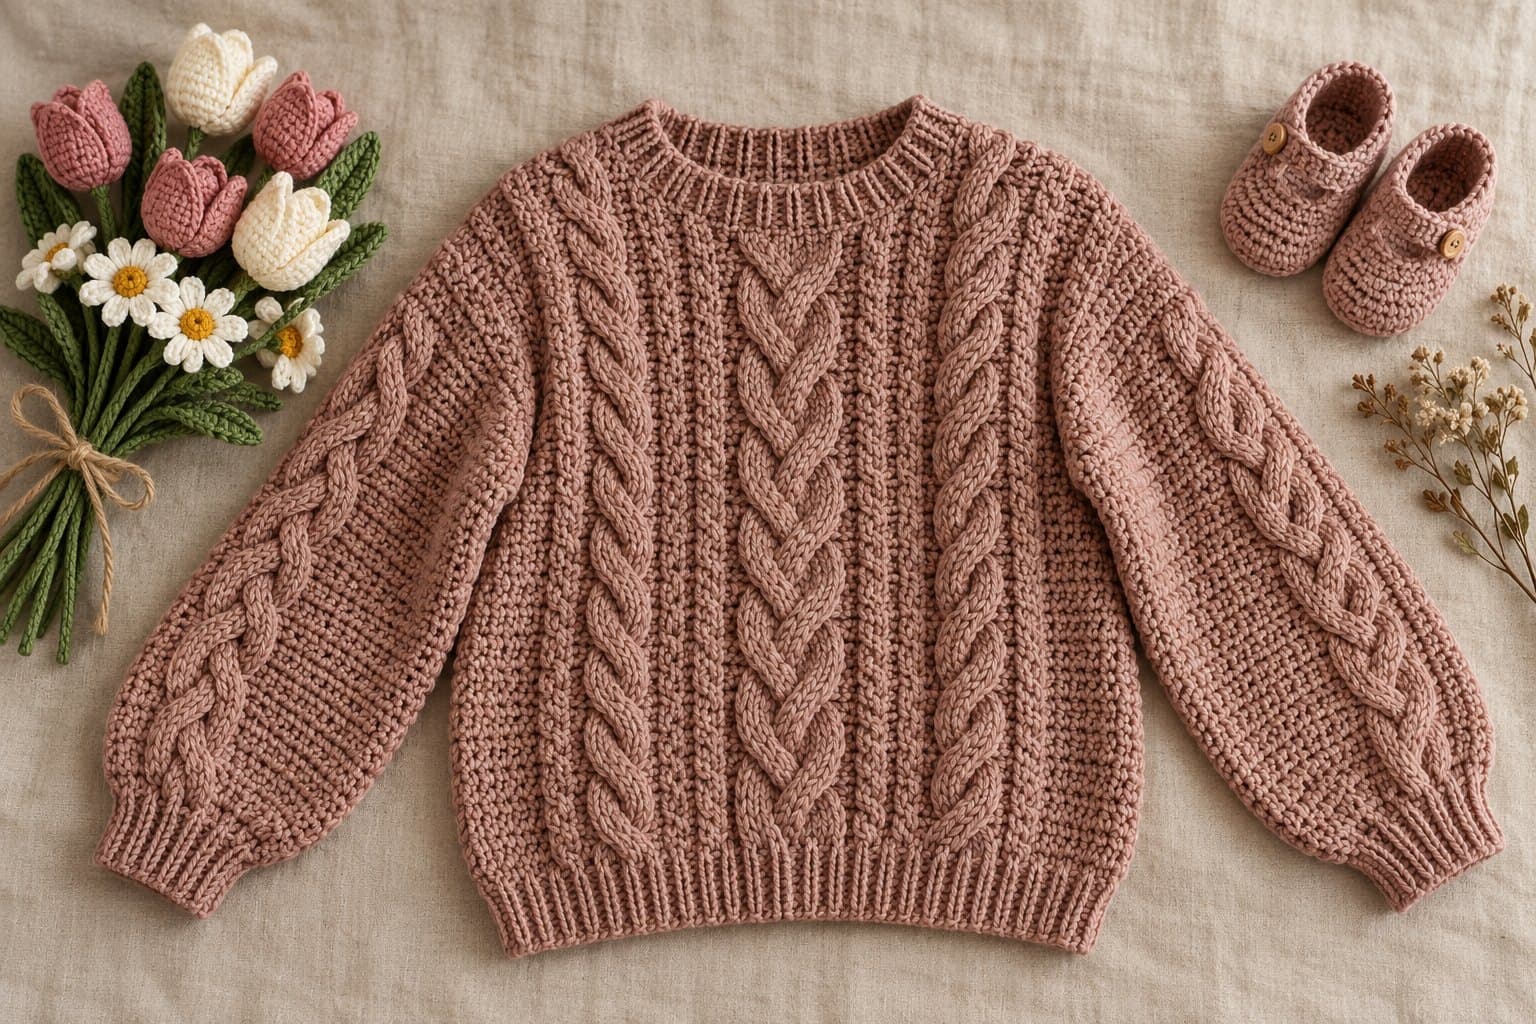
Crochet Cable Sweater Guide: Cozy Textured Fall Pullover
Crochet cables use raised stitches to create crossing lines.
2 min read
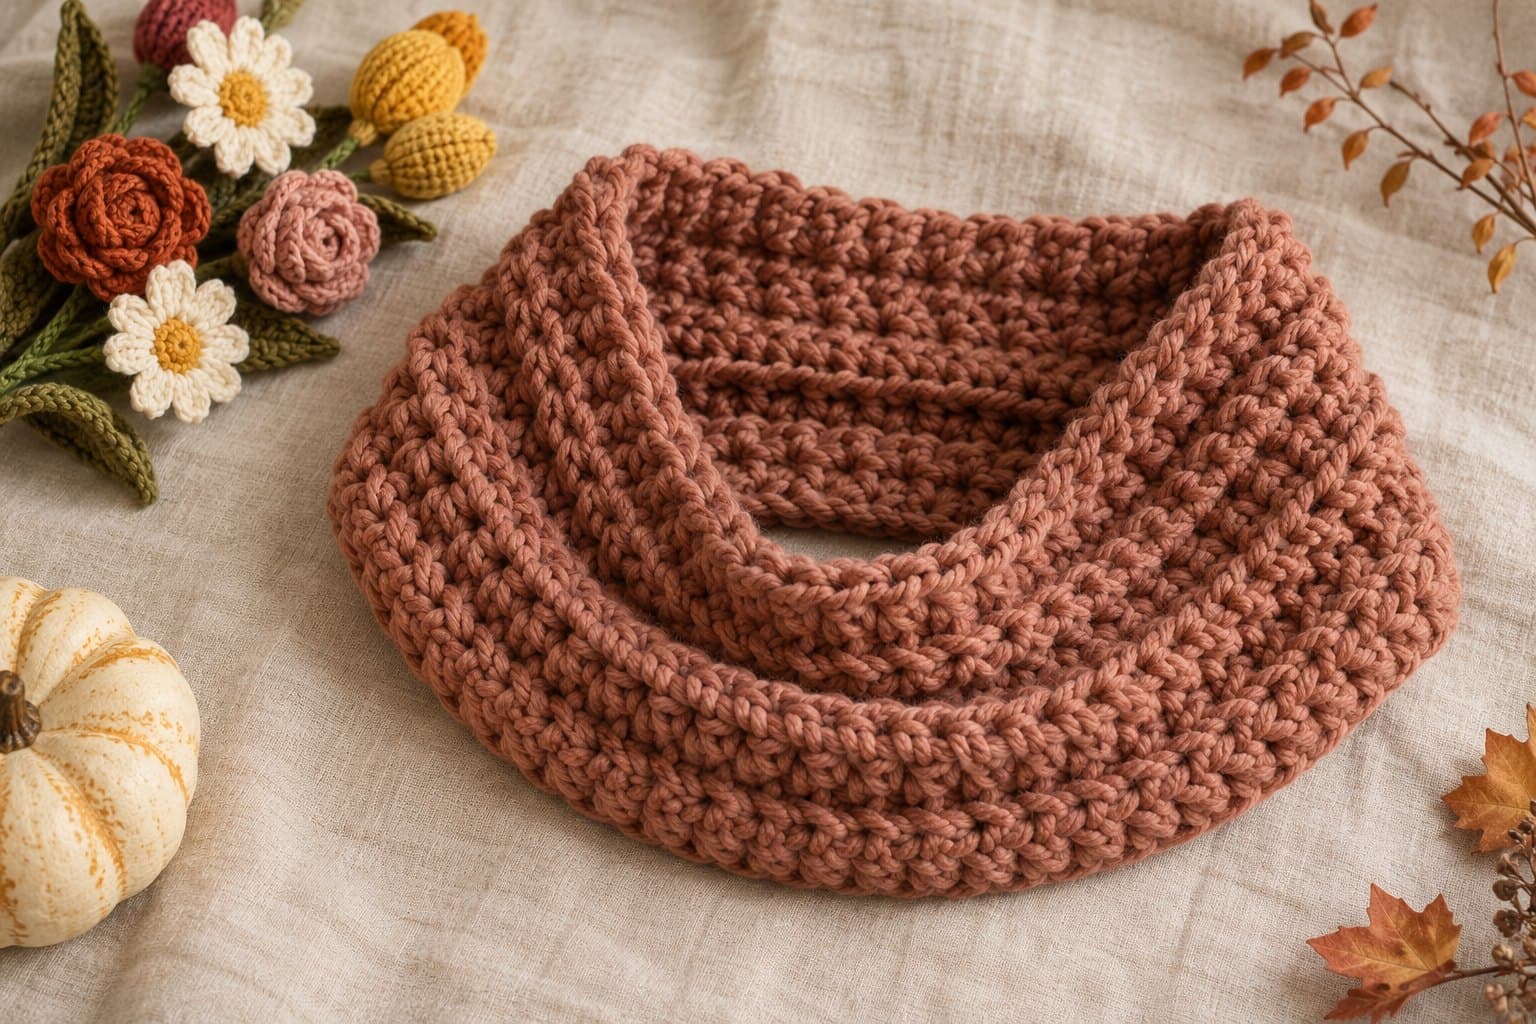
Crochet Cowl Guide for Beginners: Cozy Fall Accessory
A beginner cowl can be made from a ribbed rectangle joined into a loop.
2 min read