Crochet Fingerless Gloves Pattern (Halloween Stripes)
By Lara Yanki · September 20, 2026 · in Wearables
Free crochet fingerless gloves pattern in Halloween stripes: worked flat in single crochet with a thumb gap. A quick project for beginners in two colours.
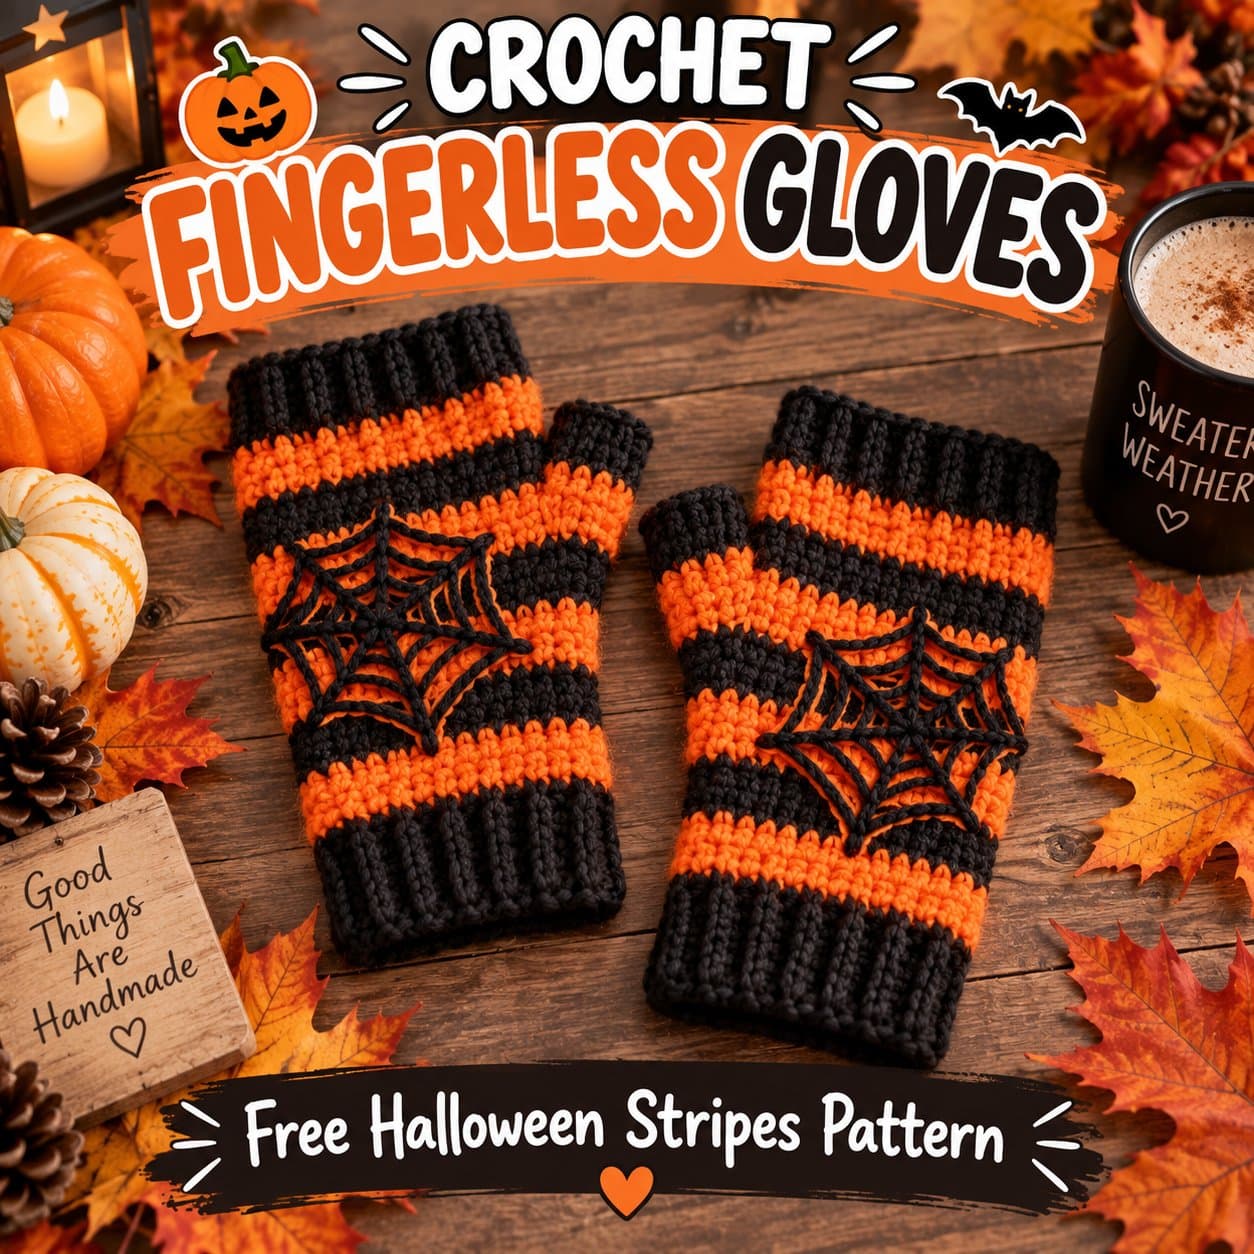
AI-generated illustration. Your finished project may look different.
These crochet fingerless gloves are worked flat in a simple rectangle of single crochet, then folded and seamed, with a gap left for the thumb. Alternating orange and black stripes give them a Halloween look, but any two colours work.
They are a good beginner project: you only need chains, single crochet and a little seaming. Because you can try the piece on as you go, it is easy to adjust the fit. The pattern gives an adult size and a child size.
What you need
- Worsted weight (size 4) yarn in orange, about 40 g, and in black, about 40 g (estimates)
- 4.5 mm (G-7) crochet hook
- Yarn needle and scissors
Abbreviations
This pattern is written in US terms.
- ch: chain
- sc: single crochet
- st(s): stitch(es)
Size, gauge and notes
- Adult: about 8 in (20 cm) around and 7 in (18 cm) long. Chain 31.
- Child: about 6.5 in (16.5 cm) around and 6 in (15 cm) long. Chain 25.
- Gauge is about 15 sc in 4 in (10 cm) and 16 rows in 4 in (10 cm) with a 4.5 mm hook (an estimate). Make a small swatch, and if your piece is too loose or tight, change the hook size.
- To change colour, use the new yarn on the last yarn-over of the last stitch of the row before. Carry the unused yarn loosely up the edge.
How to crochet the fingerless gloves
Step 1: crochet the rectangle
With orange yarn, chain 31 (child: chain 25).
- Row 1: sc in the 2nd ch from the hook and in each ch across (30 sc; child 24 sc)
- Rows 2 to 28: ch 1, turn, sc in each stitch across (30 sc), changing colour every 2 rows
Work Rows 1 and 2 in orange, Rows 3 and 4 in black, and so on, until you have finished Row 28 in black. For the child size, work 24 rows in total (24 sc), also finishing in black.
Fasten off, leaving a 20 in (50 cm) tail of black yarn.
Step 2: seam the tube and leave the thumb gap
- Fold the rectangle so the two 28-row edges meet, with the right side of the stripes facing out. The Row 1 end is the wrist end.
- With the yarn needle and the long tail, seam the edges with a whip stitch or mattress stitch.
- Adult: seam Rows 1 to 8, leave Rows 9 to 14 open for the thumb, then seam Rows 15 to 28.
- Child: seam Rows 1 to 6, leave Rows 7 to 11 open for the thumb, then seam Rows 12 to 24.
- Fasten off and weave in the end.
Step 3: neaten the thumb opening
Join black yarn at the edge of the thumb gap and work one round of single crochet evenly around the opening. This stops the edges from stretching. Fasten off and weave in the ends.
Optional: embroider a spiderweb
With black yarn and the yarn needle, stitch a spiderweb on the back of each glove, as in the illustration. Make four long straight stitches that cross at one central point, giving eight spokes. Then join the spokes with a ring of short straight stitches about 0.5 in (1.3 cm) from the centre, and another ring about 1 in (2.5 cm) out.
Step 4: make the second glove
Repeat Steps 1 to 3. The two gloves are identical: turn each one so that the thumb gap sits at your thumb.
Conclusion
You now have a pair of crochet fingerless gloves in Halloween stripes that keep your wrists warm while leaving your fingers free for texting, trick-or-treating and holding a mug.
For a matching set, try the chunky ribbed beanie and the infinity scarf. Change the stripe width to make them your own: one-row stripes give a busier look, and four-row stripes give a bolder one. Hand wash them and dry them flat. They also go well with the pumpkin beanie.
More in Wearables
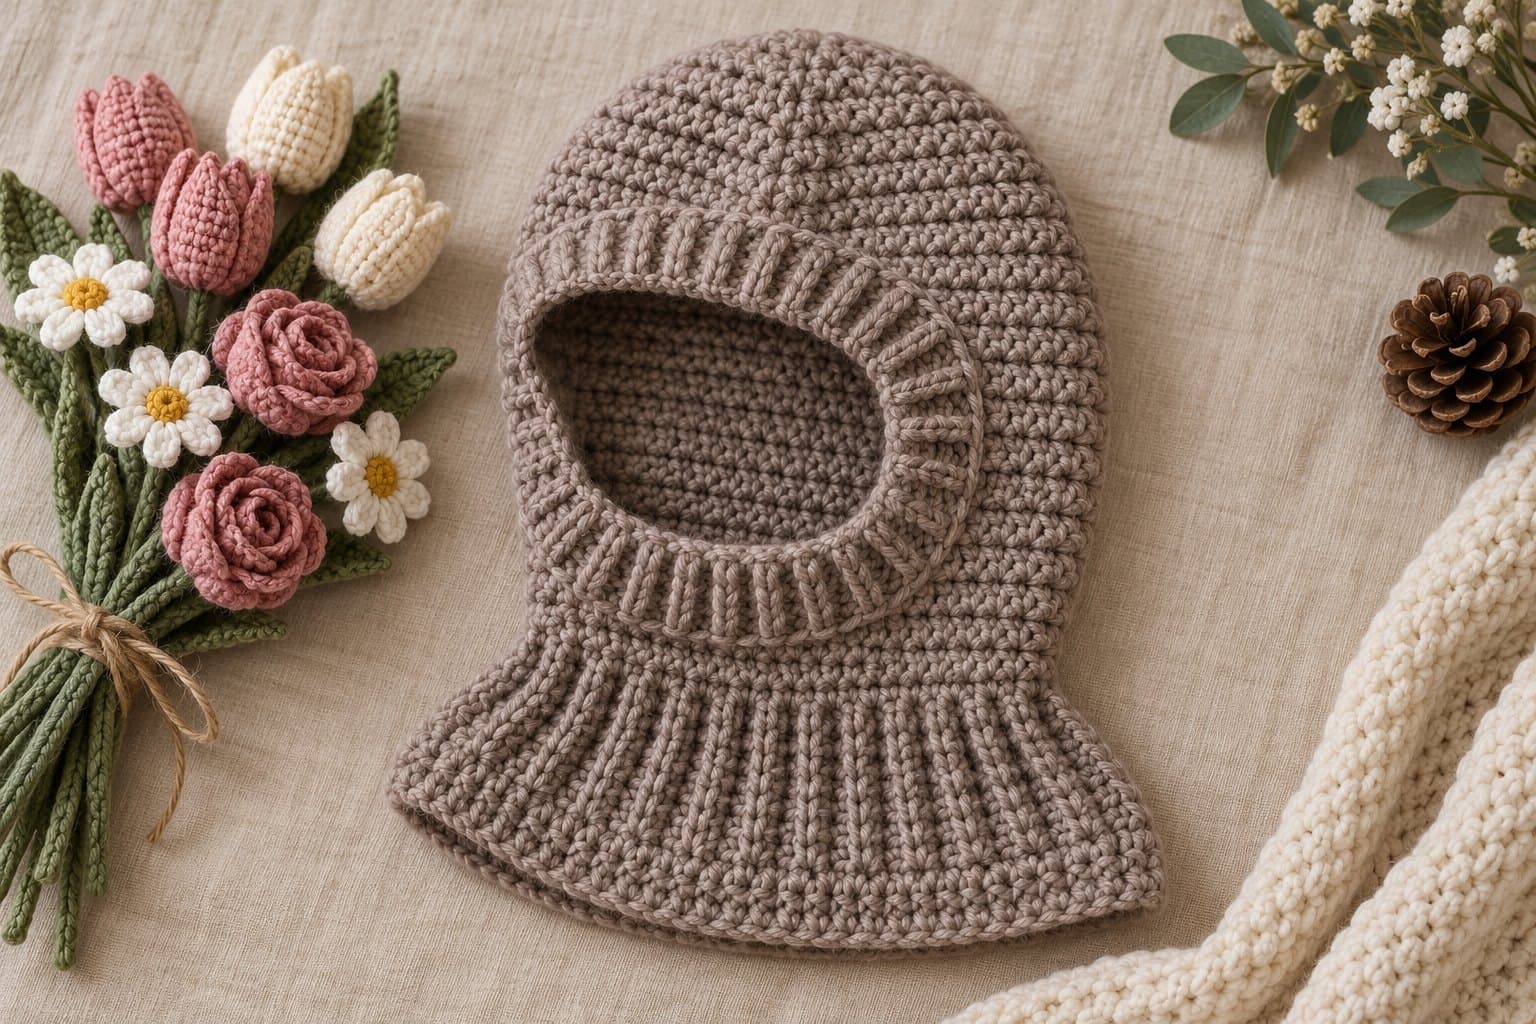
Crochet Balaclava Guide: Modern Winter Hood for Beginners
A balaclava needs a clear face opening, comfortable neck coverage and enough room around the crown.
2 min read
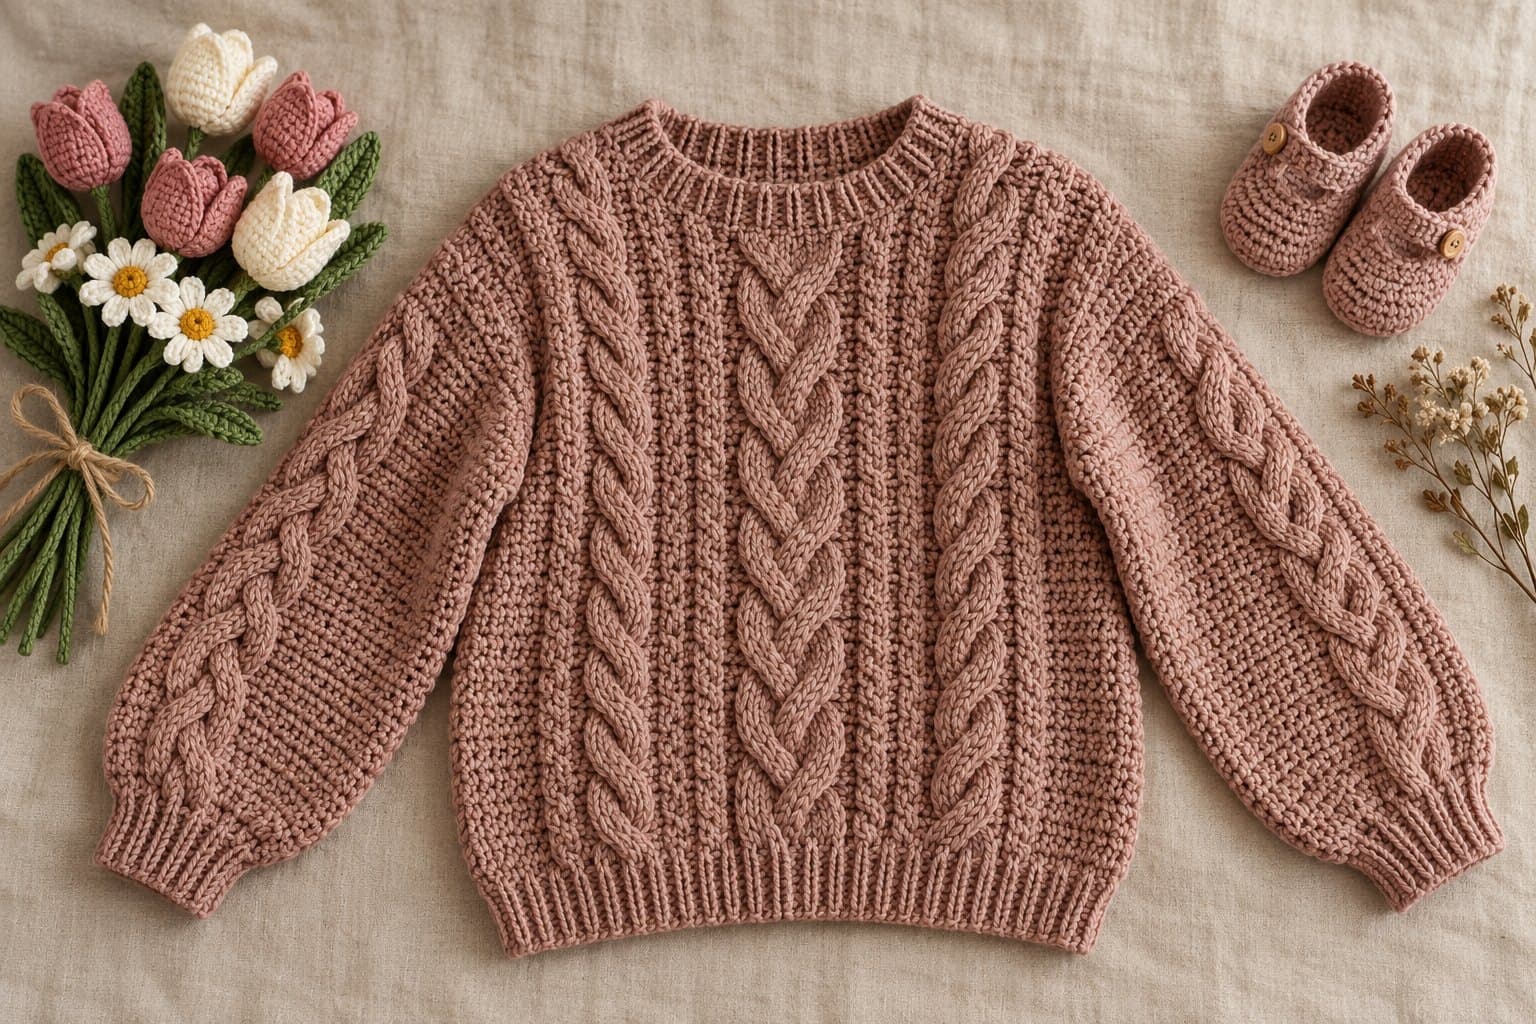
Crochet Cable Sweater Guide: Cozy Textured Fall Pullover
Crochet cables use raised stitches to create crossing lines.
2 min read
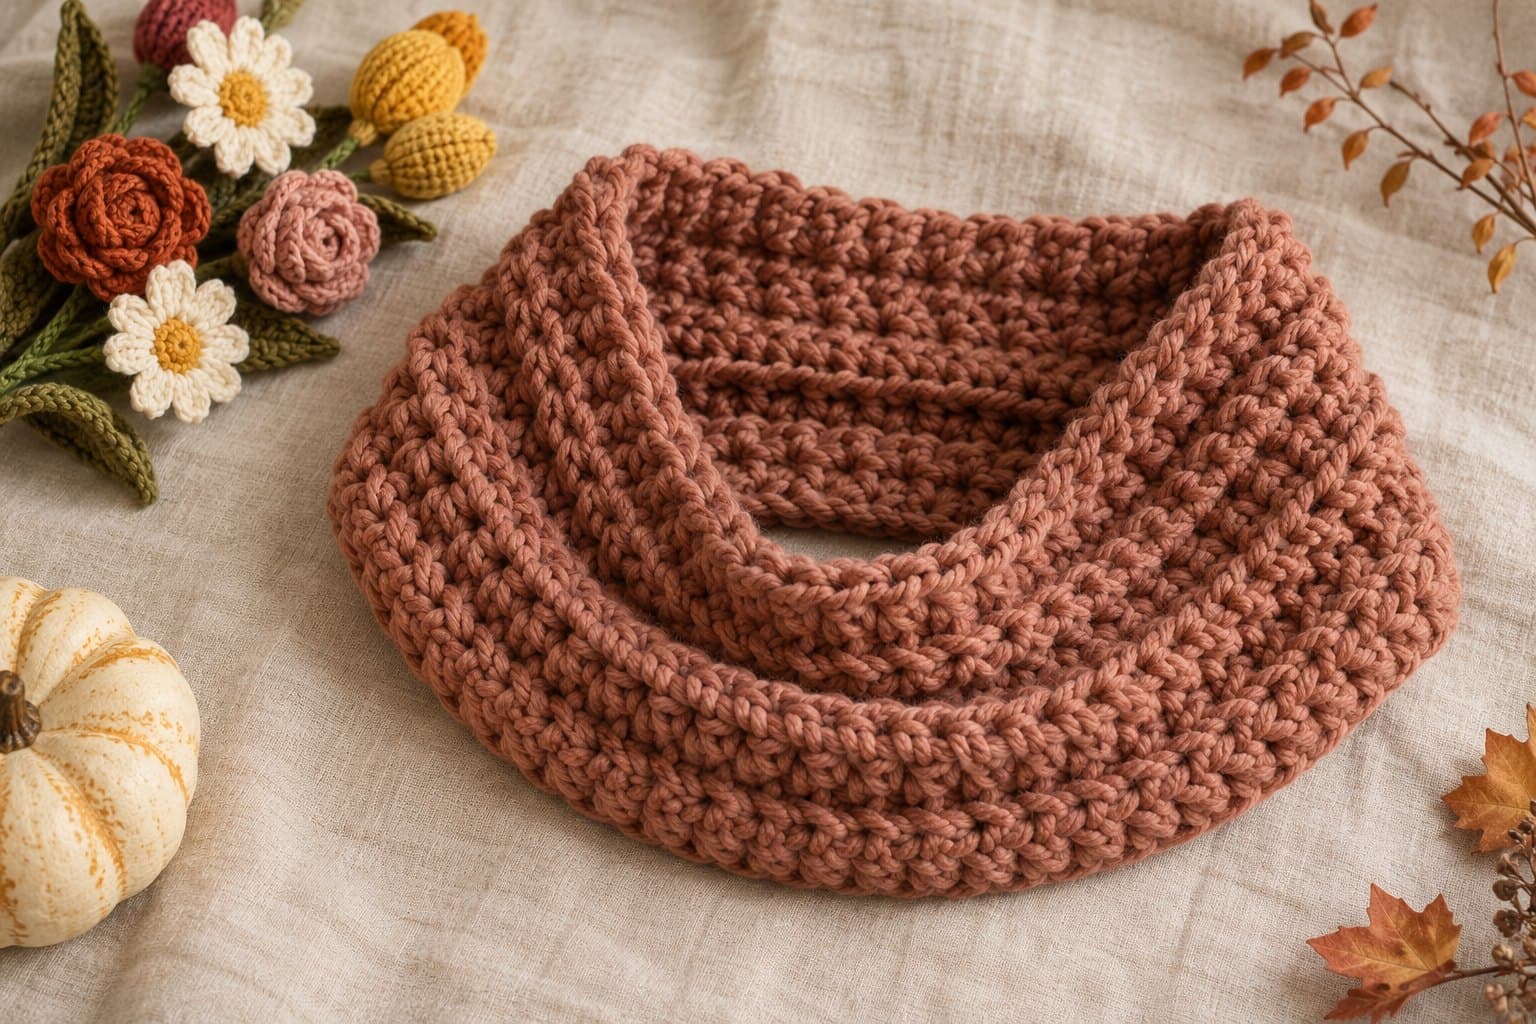
Crochet Cowl Guide for Beginners: Cozy Fall Accessory
A beginner cowl can be made from a ribbed rectangle joined into a loop.
2 min read