Crochet Pumpkin Pattern (Easy Amigurumi Halloween Pumpkin)
By Lara Yanki · September 16, 2026 · in Amigurumi
Free amigurumi pumpkin crochet pattern — a quick, cheerful Halloween decoration or garland piece that works up in under an hour.
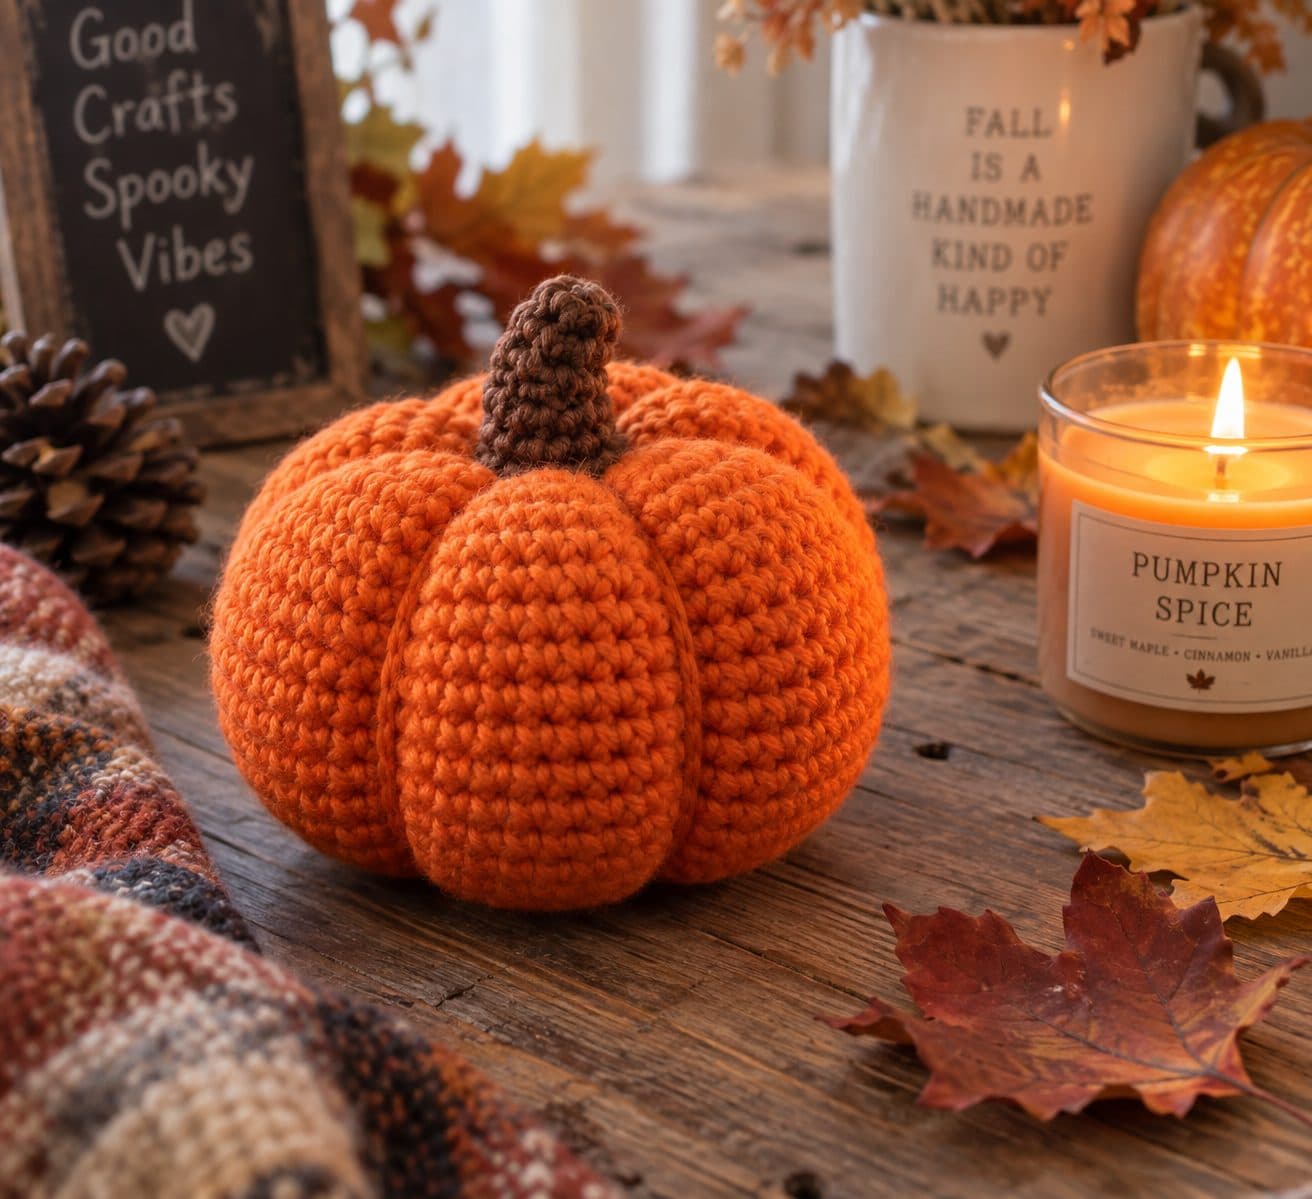
AI-generated illustration. Your finished project may look different.
This round little pumpkin is a Halloween staple project — quick to make, great for using up orange scraps, and perfect scattered across a mantel or strung into a garland.
Materials
- Orange worsted weight yarn (about 20g)
- Small amount of brown or green yarn for the stem
- 4.0mm crochet hook
- Fiberfill stuffing
- Yarn needle
Abbreviations
- MR — magic ring
- sc — single crochet
- inc — increase
- dec — invisible decrease
- FLO/BLO — front loop only / back loop only
- st(s) — stitch(es)
Pumpkin Body
Worked bottom-up in a continuous spiral.
- Round 1: MR, 6 sc in ring (6)
- Round 2: inc around (12)
- Round 3: (1 sc, inc) around (18)
- Round 4: (2 sc, inc) around (24)
- Round 5: (3 sc, inc) around (30)
- Round 6: (4 sc, inc) around (36)
- Rounds 7–14: sc around, no increase (36) — 8 rounds
To create the classic pumpkin ridges, use a length of the same yarn threaded on a yarn needle and surface-stitch 6 evenly spaced vertical lines from top to bottom once the piece is finished, pulling gently to create the segmented look.
- Round 15: (4 sc, dec) around (30)
- Round 16: (3 sc, dec) around (24)
Begin stuffing firmly.
- Round 17: (2 sc, dec) around (18)
- Round 18: (1 sc, dec) around (12)
- Round 19: dec around (6)
Fasten off, leaving a tail. Weave through remaining stitches and cinch closed.
Stem
With brown or green yarn:
- Round 1: MR, 5 sc in ring (5)
- Rounds 2–5: sc around (5) — 4 rounds
Lightly stuff, fasten off leaving a tail, and sew to the center top of the pumpkin.
Finishing
Weave in all ends. If making a garland, attach a loop of yarn or string through the top before sewing on the stem so the attachment point is hidden.
Tip: for a more dramatic ridged look, pull the surface-stitch lines slightly tighter — it deepens the grooves and makes the pumpkin shape read more clearly from a distance.
Top it with the mini witch hat, or scatter several along a mantel with the ghost garland. Prefer something to wear? See the pumpkin beanie.
More in Amigurumi
Crochet Mushroom Guide: Cute Beginner Amigurumi Toadstool
A crochet mushroom has two distinct structures: a rounded cap and a narrower stem.
2 min read
Crochet Green Monster Pattern (Easy Amigurumi Monster)
Free amigurumi green monster crochet pattern with a fuzzy tuft and a friendly grin — an original, cheerful Halloween-themed plushie.
2 min read
Crochet Mummy Pattern (Easy Amigurumi Halloween Mummy)
Free amigurumi mummy crochet pattern wrapped in crocheted bandage strips — a fun, quick Halloween decoration or toy.
2 min read