Crochet Strawberry Pattern (Easy Amigurumi Strawberry)
By Lara Yanki · September 14, 2026 · in Amigurumi
Free amigurumi strawberry crochet pattern — a quick, cheerful project great for keychains, garlands, or a kids' play food set.
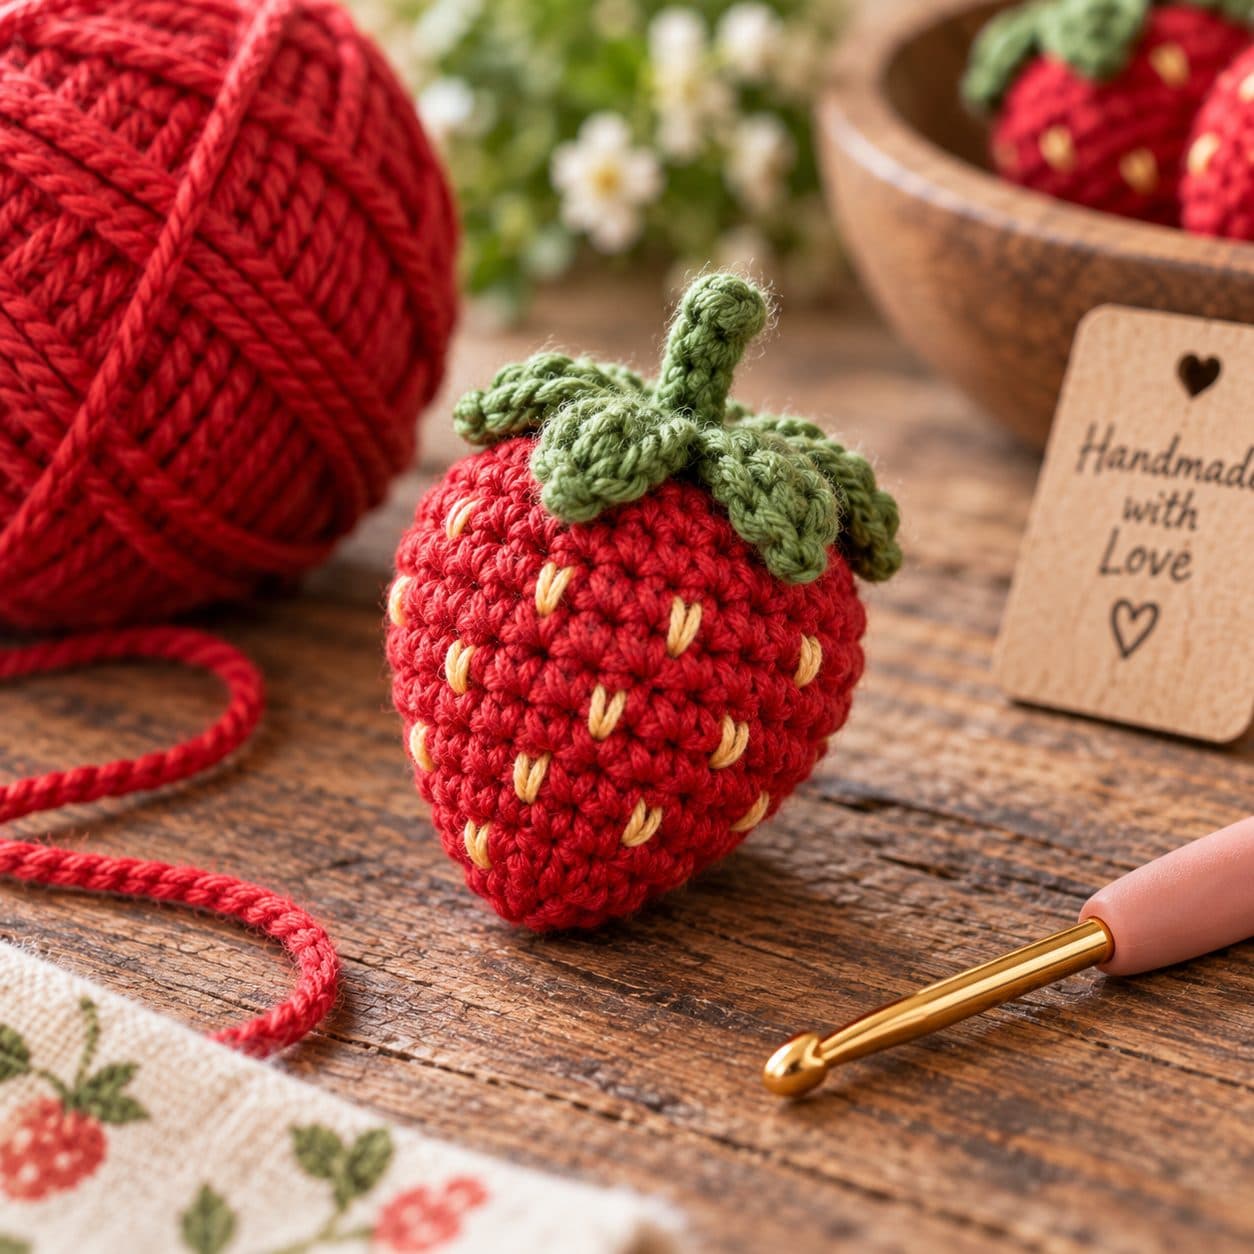
AI-generated illustration. Your finished project may look different.
This little strawberry works up in under an hour and uses less than 15 grams of yarn, making it a perfect scrap-buster project. String a few together for a garland, add a keyring for a bag charm, or make a whole bowl of them for a play kitchen.
Materials
- Small amount of red worsted weight yarn (about 10g)
- Small amount of green worsted weight yarn (about 5g)
- Yellow embroidery thread or yarn for seed details
- 3.5mm crochet hook
- Fiberfill stuffing
- Yarn needle
Abbreviations
- MR — magic ring
- sc — single crochet
- inc — increase
- dec — invisible decrease
- st(s) — stitch(es)
Body (Red)
Worked bottom-up in a continuous spiral. Start at the pointed tip of the strawberry.
- Round 1: MR, 6 sc in ring (6)
- Round 2: inc around (12)
- Round 3: (1 sc, inc) around (18)
- Round 4: (2 sc, inc) around (24)
- Round 5: (3 sc, inc) around (30)
- Rounds 6–8: sc around, no increase (30) — 3 rounds
- Round 9: (3 sc, dec) around (24)
- Round 10: (2 sc, dec) around (18)
Begin stuffing lightly as you go, adding more as the round narrows.
- Round 11: (1 sc, dec) around (12)
Add embroidered yellow "seed" stitches scattered around the body now, before it closes further — small straight stitches in a staggered pattern work best.
- Round 12: dec around (6)
Fasten off, leaving a tail. Weave through remaining stitches and cinch, but don't pull fully closed yet — leave a small opening at the top for the leafy cap.
Leafy Top (Green)
- Round 1: MR, 6 sc in ring (6)
- Round 2: (ch 3, sl st in same st, sl st in next st) around — repeat 6 times to form 6 small pointed leaves
Fasten off, leaving a tail for sewing.
Assembly
Finish stuffing the body firmly. Sew the leafy cap over the opening at the top of the strawberry, tucking the tail ends in as you go. If making a garland or keychain, attach your cord or keyring loop underneath the leafy cap before sewing it down, so the attachment point is hidden.
Finishing
Weave in all remaining ends. Make a batch of 3-5 in slightly different sizes (adjust the number of increase rounds) for a more natural, varied look if stringing into a garland.
Tip: for a two-tone strawberry look, switch to a slightly darker red for the last 2-3 rounds before the leafy cap — it mimics the natural color gradient of a real strawberry.
More in Amigurumi
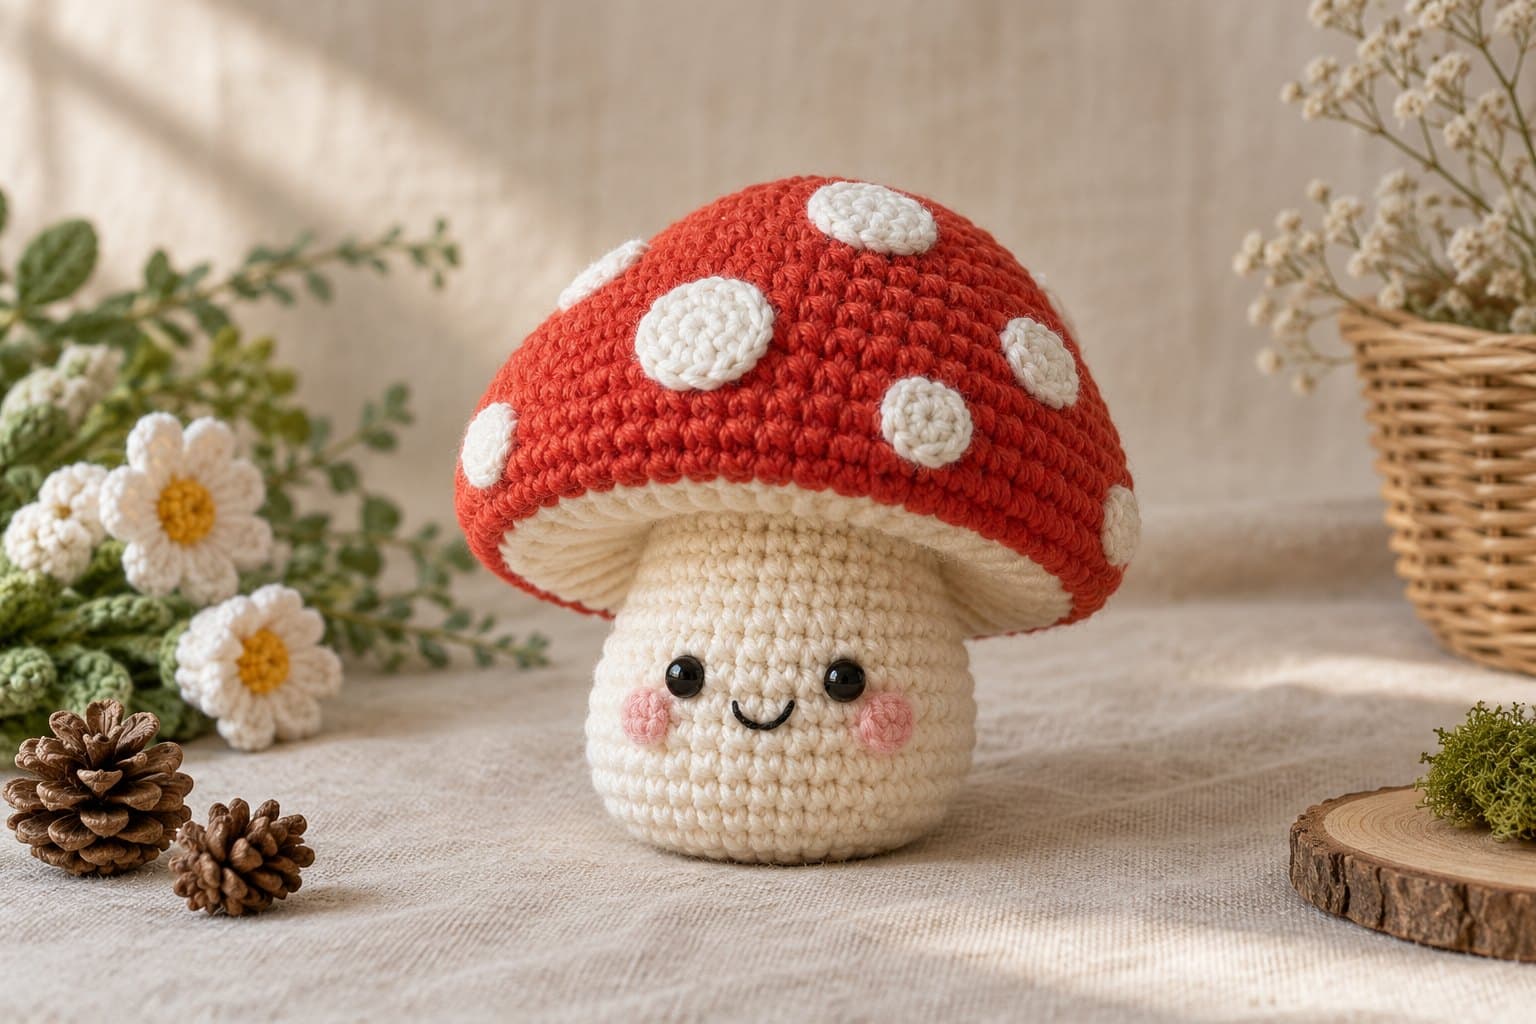
Crochet Mushroom Guide: Cute Beginner Amigurumi Toadstool
A crochet mushroom has two distinct structures: a rounded cap and a narrower stem.
2 min read
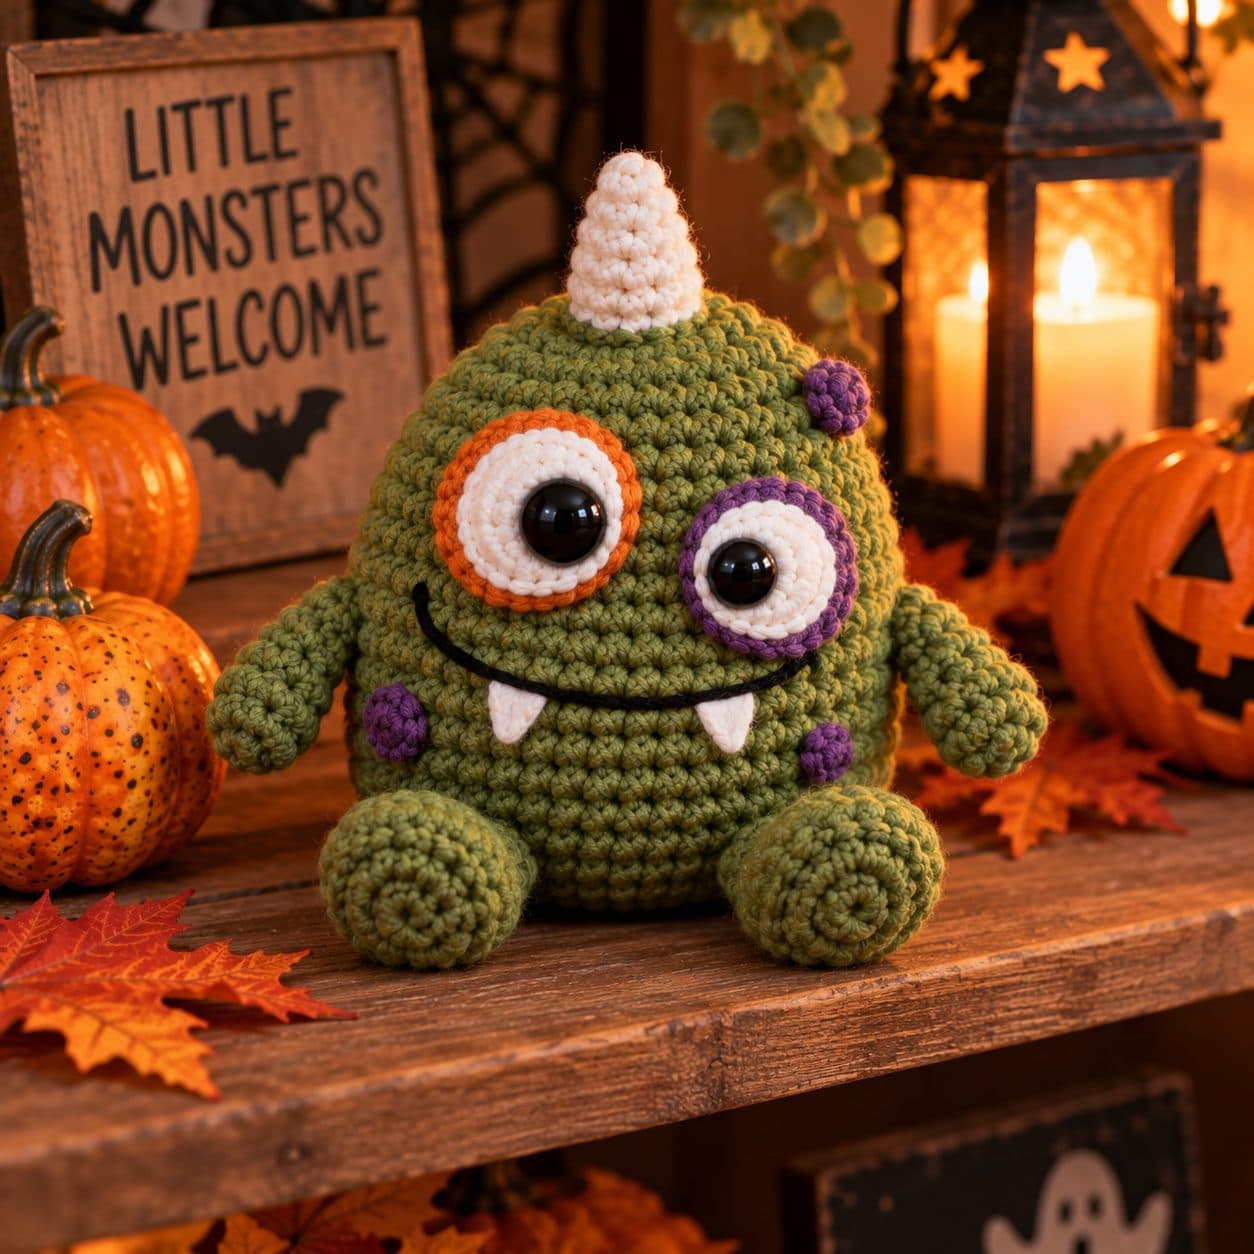
Crochet Green Monster Pattern (Easy Amigurumi Monster)
Free amigurumi green monster crochet pattern with a fuzzy tuft and a friendly grin — an original, cheerful Halloween-themed plushie.
2 min read

Crochet Mummy Pattern (Easy Amigurumi Halloween Mummy)
Free amigurumi mummy crochet pattern wrapped in crocheted bandage strips — a fun, quick Halloween decoration or toy.
2 min read